Sunday 25 August 2013

Gravity, motion, speed and distance!

It's funny how sometimes a simple play idea started by the kids can end up in a very cool science investigation.  That's exactly what happened here... while my parents and I were outside enjoying a coffee, the kids amused themselves.  This is where their little thinking minds took them...

It started off with some old pipes my dad had in the backyard.  The kids started randomly playing with them.  Then they found the macadamia nuts that had fallen off the tree and onto the ground.  Put the two together and this is what they found...!


They rolled the macadamia nuts through the pipe slow and fast - testing how hard they needed to roll it so that it didn't get stuck in the middle of the pipe... Look how busy they both are!


Then they leaned the pipes against the garden bed.  They rolled the macadamia nut through the pipe... Then E excitedly exclaimed to N - "Look! I don't have to roll it I can just put it there and it rolls itself!"  They were so excited they stayed on this for a very long time.


They tried to see if the macadamia nut could move magically through a bend. 10 points for persistence! Obviously it didn't work but I love how they are thinking!


And back to a flat pipe - this time it was a game of which macadamia nut rolled the furthest?


And what happens if they put the pipe vertically?

 
And another creative thought - what happens if I blow on the nut, will it make it go faster? LOL LOVE!!!

Who would have thought one little play idea could result in such a cool investigation? So many things were covered - distance, speed, gravity and motion! 

The best bit about this experiment - the language.  When asked what they were doing, N excitedly told us, "First, you need to get the pipe. Then you need to get a nut and roll it through! It's fun, mummy!" Whoa! A recount from a 2 and a half year old - they learn these in Kindergarten!! (So proud! :))

Monday 19 August 2013

Exploding Lunch Bag

For those of you who know my kids well, they frequently (always) get into the kitchen, take out different equipment or ingredients and ask (demand) if they can make something.  Last week it was a banana and honey smoothie in the blender - end result was this smoothie for 2... or perhaps for 15!

This week it was the bicarb of soda.  They wanted to make a volcano again... You can imagine my delight when - just five minutes before lunch is ready, I'm finishing the cooking and setting the plates - I hear (on repeat) "I want to make a volcano.. I want to make a volcano.. Muuuumm, I want to make a volcano!" Perfect timing, kids! Thanks!

 It's been a while since we've worked with bicarb so I thought why not?
 
All you need for this one is:
One small zip lock bag
Bicarb of soda
Warm water
Vinegar
Measuring cup
Vinegar

You will need to do this outside - it gets a little messy... and if it's not a good day outside then do it in the kitchen sink or the bath!

Pour 1/4 Cup of warm water into a bag.

Add 1/2 a cup of vinegar into the bag.

Lay the tissue out flat.  Put in 3 teaspoons of bicarb of soda into the middle of the tissue.

Wrap the tissue around the bicarb of soda - only do this lightly - it will help buy you time when you combine the bicarb to the water/vinegar mixture.


Now really quickly zip up the bag and watch what happens!  These pictures were taken the first time we tried the experiment - it didn't work as well as we had hoped but it sure was fun!


The mixture started fizzing up ...
 
 
The bag started expanding...

 
And expanding - until it got really firm to touch...
 
The kids were so excited but really scared so they kept on running away, waiting for it to explode...
 

Then they ran back to it to see if it did explode...


Until finally we realized the bag had popped - just not how we thought it would! A small hole in the bag- created either by a blade of grass or the fact that the bag had expanded so much that it had ripped the bag.


We did try this experiment again - this time I shook the bag quickly after adding the tissue and bicarb  to the water/vinegar mixture and threw it on the ground (not the grass).  It exploded much more quickly and the boys were absolutely going crazy at what happened - they loved it! If I had more camera battery I could have shown you their faces - they loved it!

Nothing like a little Chemistry to please the senses! What happens inside the bag?  The baking soda and the vinegar eventually mix and when they do mix, you create an acid base reaction and the two chemicals work together to create a gas, (carbon dioxide - the stuff we breathe out). It turns out gasses need a lot of room and the carbon dioxide starts to fill the bag, and keeps filling the bag until the bag can no longer hold it any more and, POP!

Thanks, Science Bob for this cool experiment!


Tuesday 13 August 2013

Caution: Men At Work!

The thing about kids is you never know what is going to happen until you actually try it. Take this investigation, for example... I thought it could either go really well, and the kids would get really into it, or it could go really bad and they would have no idea and it will all be a waste of time. Sometimes you've just got to bite the bullet and give it a go.  In this case - it went both ways... what I wanted them to do was similar to what they did, but their version of it was just as fun!

So my thought process was this. The other week we did the "Build A Bridge" experiment.  It went really well with E, but not so well with N. He was a little young to understand the concept of "Design and Make". That being said, it has renewed his interest in bridges and always talks about them now. So I wanted to do another investigation that involved bridges.

What you need:
  • 3 or 4 pieces of Cardboard or thick paper - each one folded a different way.  One was just a flat strip of cardboard. One was a corrugated piece (zigzag).  One was an arch (you can see a better example of the arched bridge we used in  another picture.  The final one was a girder shape (picture of the girder shape is next to this picture).   
 
  • 2 cups the same size
  • Plastic counters to act as "cars" ... We started off using beads (with flat bottoms), then changed to slices of carrots
First I showed the kids how the two cups were the pylons for the bridge.  I asked them to use the cardboard pieces to build a bridge that holds lots of cars.

Here's how it went...


They used each piece of cardboard separately first, then placed the beads on their bridge to see if it would hold.


The more beads or carrots their bridge held, the more excited they got. 
However, the more beads their bridge held the more likely they all fell off so we had to change our "cars".  We decided to use chopped up carrot pieces instead!

(I like to think of this as a creative cheat! hahaha)!


The sticky tape came out and pretty soon they were both creating their own bridges using a few of the different examples I had given. They both worked out that the bridge was sturdier if they put on lots of layers of cardboard rather than just one. 


By the end of it, the kids had built lots of bridges but then became hungry... and suddenly the carrots disappeared ;)

How is this science? The strength of something isn't just about what it is made up of - the shape is important too.  Folding flimsy card into a beam makes it rigid and strong.

The corrugated bridge is made up of triangle shapes which are the best at holding heavy loads.  A triangle is really strong as it directs weight straight to the ground.

Thank you, Mini Scientist In The Kitchen (Lisa Burke) for this wonderful idea!


Monday 5 August 2013

Walking Water

This week we kept it simple!

All you need for walking water is:
  • 3 Clear cups
  • Water
  • Food colouring
  • Paper towels
Fill TWO of the cups with water.

We added food colouring to both cups.  You can add any colours but the kids wanted to add blue and yellow.

We added paper towels that looped between the cups.  The middle cup (the cup without the water) had both paper towels in there.


.... And then we waited and watched the water climb up the paper towels...


... And into the middle cup...


... And then the magic happened! The colours mixed together in the middle cup
and the water turned green!
 
Very cool :)
 
E even asked me "what would happen if we had blue and purple and red and yellow and brown food colouring and we mixed them all together?" ... Love his thinking mind!

NOTE: This is the second time we had done the experiment - the first time I used quite deep plastic cups and it didn't work as well - it worked a lot quicker with smaller, shallow cups.  If it is not working as quickly as you like you can change cups or try putting the cups with the water at a higher level than the empty cup - gravity will help speed up the process.


Sunday 28 July 2013

Build A Bridge And Get Over It!

One of my favourite parts to the Science Syllabus is the "Design and Make" component.  It is a chance for kids to use their creativity, problem solving and reasoning skills.  I always LOVED watching the kids get creative in the classroom - there was always so much discussion and so many busy little people.  I ignored the messy classroom and instead embraced the creative chaos!

I wanted to introduce my kids to the concept of designing and making.  I began by giving them a couple of things that I thought would help them complete the task.  These included:
  • A lid that came off a "city scene" box that my kids had.  It had a picture of grass and two lakes.  You can use anything to set the scene - you could even cut up some paper to make it look like water, or you could use some tape to make a busy road
  • Paddle pop sticks
  • Playdough
  • Toilet paper rolls
  • Tools (I thought the tools would capture their interest - and it did!!)
  • Cardboard
  • Pencils
  • Small cars/trucks

Note: You do not need to use anything in this list - just pick up things from around your house that you think will work - it's surprising how creative your kids will get!

I then set the scene...

This little truck wants to go over the lakes... Look how the truck drives around the lakes - it's taking so much time! Look! It's getting stuck because there is not enough room to move!  The truck wants to go across the water - how can we get it across the water?

E: A boat! Or a bridge!

He was right onto it!

Usually when we facilitate a design and make session, the kids are asked to "design" by drawing a plan of what they are going to do before they actually build it. Because this is the first time my kids have done this, I decided to swap it around and get their creative juices flowing first by "doing" then drawing what they did.  This is how it went...

At first they were a little lost - they poured all of the paddle pop sticks onto the water and E proudly said that that was their bridge. Rather than take them all off and show them another way, I got the truck and showed them that the truck still couldn't get over the water because all of the paddle pop sticks were moving around and it was too bumpy for the truck.


I asked them to think of another way to build a bridge that wasn't so bumpy and...


Great idea! But the truck finds it really hard to climb up the edges of the bridge. What do we need to help the truck to get up?
 

Awesome idea!! Paddle pop sticks sloped onto the container and some play dough to hold the "ramp" together. E took it upon himself to test the bridge and check if it was easier to travel up... It was! I love love love everything that happened there - problem solving, making, testing, re-making, retesting, fixing, thinking, questioning... This activity has it all! 

Extra challenge for E - can you make another bridge using different materials?
 
This is what he came up with ...


4 toilet paper rolls with cardboard on top. Initially there was only 3 toilet rolls (N was busy with the 4th toilet roll I had initially put out) so he made me get another one so there was an even amount on both sides!

Pretty creative! And so much fun! I love the look on their faces when they are engaged in these activities!
 
You might notice that E was the only one doing this experiment. At almost 4 years old this experiment was more suited to E than N who is 2 and a half. Having said that, N came up with his own little experiment - throwing a big blob of play dough through a toilet paper roll and seeing how far the play dough flew through the air and onto the floor... Hours of fun and lots of giggles! It kept him amused for ages! Love that :)


The beauty of the design and make process is that the list of things to design and make is endless - building a bridge is just one idea. Maybe you would like to design and make a shelter for a pet? The houses in the story The Three Little Pigs? An obstical course for a younger sibling? An obstical course for a dog? A car? A park?....should I keep going? 😉

Sunday 21 July 2013

Egg Teeth and Apple Germs!

We all know that getting kids to wash their hands and brush their teeth can sometimes be a bit of a battle.  After all - their teeth and hands look clean, so why should they clean them?  It's pretty hard to explain the concept of "germs" when the kids can't see them.  It's also hard to rationalize with a 3 year old who has gone from brushing his teeth without us telling him to - to not brushing at all... All because someone told him "the tooth fairy comes when your teeth fall out! I want my teeth to fall out so the tooth fairy comes!"... Ahh the joys!

I stumbled on two experiments which I thought were great ideas on why it's important to wash our hands and brush our teeth.

Egg Teeth

What you need:
4 eggs - all ours were raw but you can boil 3 and leave 1 raw if you like
3 dark drinks/foods - we used coffee, cranberry juice and melted chocolate.. You can use anything you have handy (eg. other juices, dark sauce etc.)
Vinegar

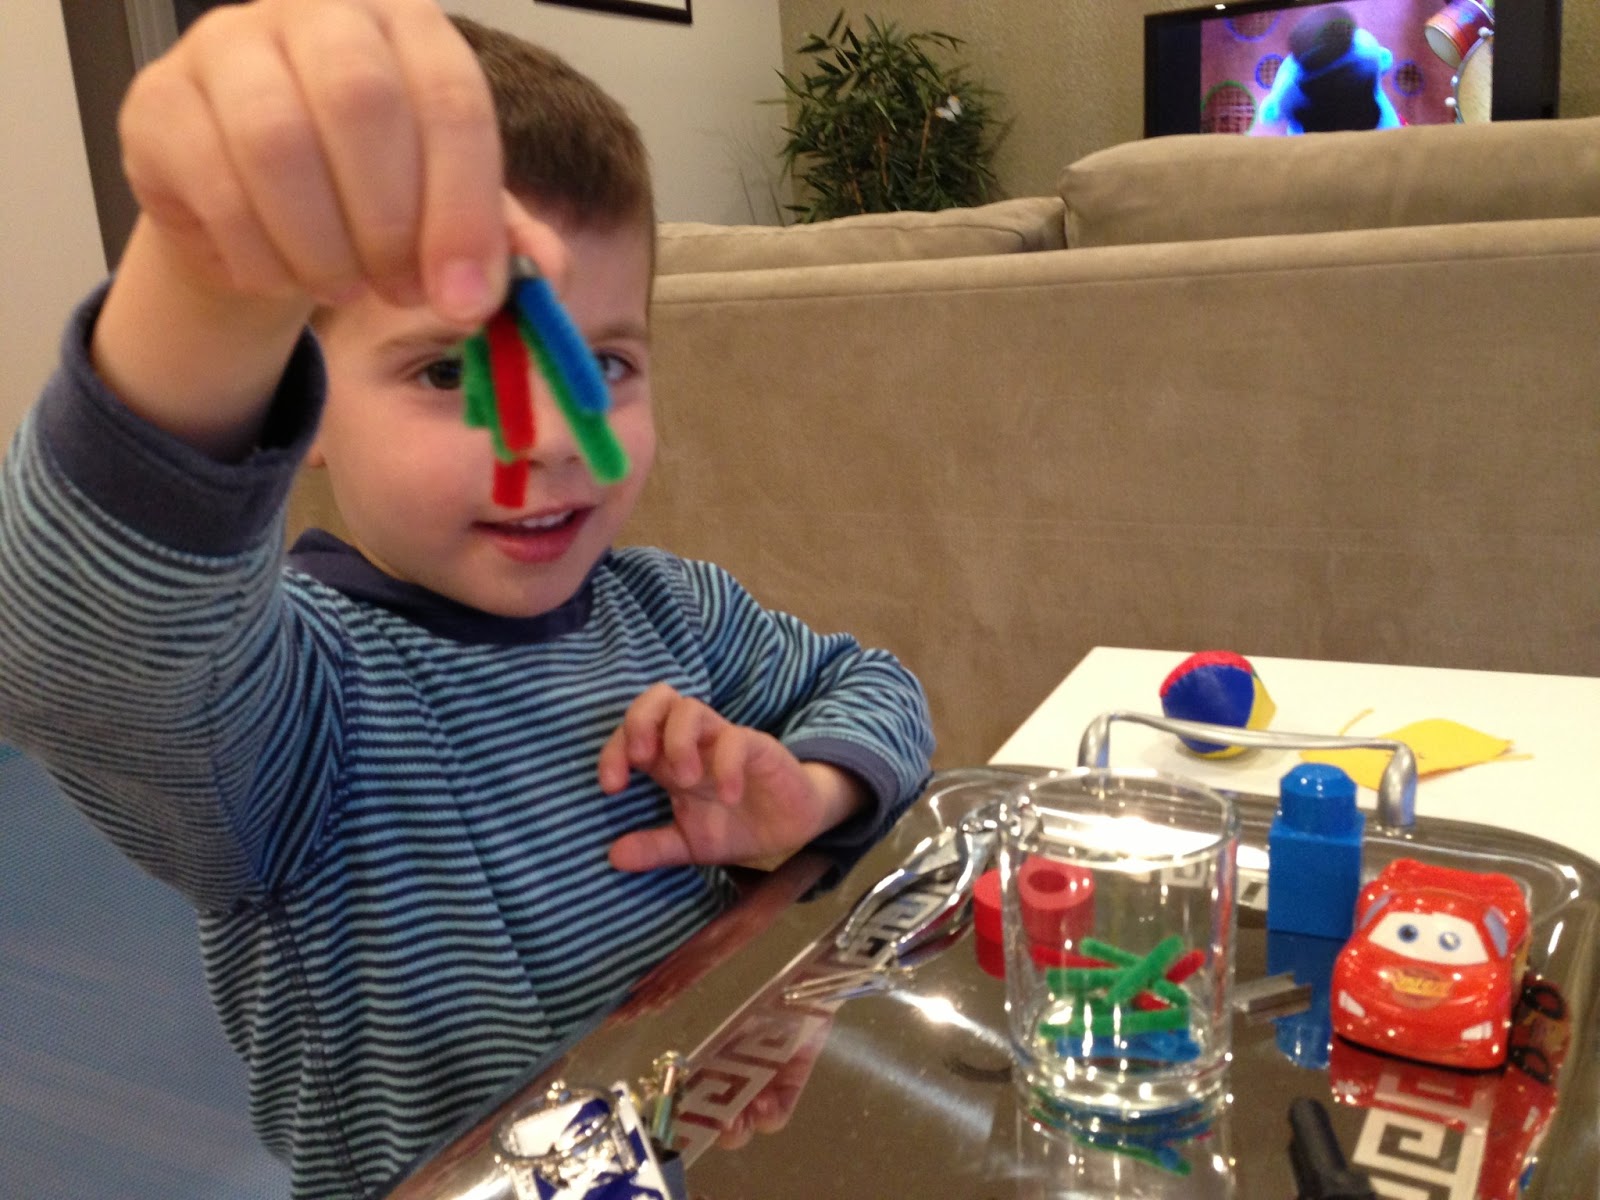
OK so with this experiment I had to set the scene.  I told the kids to pretend that eggs were our teeth.  I held them up to my mouth with a big smile and said "look at my teeth!" It must have looked quite the sight but they quickly understood and asked to hold the eggs close to their mouths too.  I had to remind them to hold the eggs carefully because they were still raw.  After showing off their egg teeth with a giggle, it was time to get on with the experiment. 

We filled a small bowl with a different liquid/food.

(Top left) Cranberry juice, (top right) Vinegar, (bottom left) melted chocolate, (bottom right) instant coffee.
 

Then the kids put the eggs into each bowl (if you have boiled some of the eggs, put a raw one in the vinegar). 

Over the course of about 2 days, we observed the changes that happened.

These are some of their observations...

The vinegar and the cranberry juice bubbled up when we put the egg inside.


After a couple of days the eggs that were in the cranberry juice and the instant coffee had turned a different colour.

The melted chocolate had stuck to the egg.

Now the fun part!

We put all of the eggs onto a tray (I wasn't brave enough to give it to them to hold by themselves - especially because I had made a conscious decision not to cook the eggs!!).
 
 
"Look mummy this egg is brown.  This egg has hard chocolate on it! Can I eat the chocolate?" Hahaha... umm noooo :)

"Yuuuuuck! The vinegar made the teeth go soft!" The shell on the egg literally fell open, and it felt kind of rubbery.  I've seen other people who have done this experiment and they kept it in the vinegar for longer - the vinegar literally disintegrated the shell and cooked the egg!!


Then we got out some old toothbrushes - as they carefully cleaned the "teeth" with a toothbrush and toothpaste I explained that all foods stay on our teeth unless we brush them.  Different foods or drinks can change the colour of our teeth if we don't brush them regularly and other foods - like chocolate - can stick to our teeth and damage them. 


Mr. 2 and a half year old "no I don't want to brush my teeth" - now excitedly tells me (after everything he puts in his mouth), "mummy we need to brush our teeth so the food doesn't stay on there!"... Oh and Mr 3 year old who wants the tooth fairy to come is now happy to wait until his teeth fall out naturally - because the tooth fairy only comes for clean teeth ;)

 Aha! Mission "Healthy Teeth" a success!

Apple Germs!

All you need is 2 apple slices and 2 small containers or glass jars.

Put one piece of apple in a container in the lid.  Explain to the kids that this is a clean apple that has no germs on it.

With the other slice, get them to touch it for about a minute each (make sure they have not just washed their hands - they need dirty hands for this one!).  This experiment would work awesome in a classroom because the end result would be a lot more dramatic!


We left the apple slices for about 6 days and observed the results.

The end product?
Self explanatory! ;)


Wash your hands, kids! Germs are there - we can't see them but they are really there! The proof is in the apple!!

Did the experiments have a lasting affect on my kids?
Yes - they are both now happily brushing their teeth - it is not a chore... And they are both washing their hands (even though they need reminding - difference being is that I don't have to ask them 5 times before they actually do it!).  It has only been a week - I wonder how long it will last?? I'll keep you updated!
 

Sunday 14 July 2013

Invitation To Discover: Magnets!

This week I decided the kids needed to have a little bit of magic in their discoveries (toddler magic, that is :) ) ...

I made up a tray for each boy with lots of different items on it.  Some items could be picked up by magnets, some couldn't.


Some of the things I included on the tray were:
  • Key rings
  • Plastic balls
  • A glass cup with cut up pipe cleaners in there (although I heard that they aren't called pipe cleaners any more???).  You could also use a plastic bottle instead of the glass cup.
  • Paperclips
  • Toy cars
  • Pens,
  • Screwdrivers,
  • Material
  • Blocks/lego
  • Coins
And of course the "magic" ingredient - a magnet (which I bought from the Dollar Store - it was something like 8 magnets for $2).


This experiment was more an invitation to discover whatever they wanted to discover - I didn't direct much during their investigations (except for a couple of activities towards the end).  They were thrilled at what they discovered and I enjoyed the fact that they were using their own thoughts and taking risks with their ideas.

Here are some of their discoveries...


"This one sticks to the magnet, this one doesn't!"


"I know, let's sort them! All the things that stick on the magnets go in the yellow plate, all the things that don't stick go on the green plate!" This was a great idea from E, that really benefited N who is still learning his colours... Love how math and science present themselves in the same experiment!


"Look! The screwdriver is a magnet too!! The paperclips are sticking onto the screwdriver."


I challenged the boys to see if they could get the pipe cleaners out of the glass without putting their hands and the magnets into the glass... E worked out he could get out a few of the pipe cleaners without actually putting his hand in the cup.  He ran the magnet along the side of the glass and the pipe cleaners moved up with the magnet... And then...


"Look how many pipe cleaners the magnet can hold at the same time!"


"Look mummy! The paper clip is hanging down!!" Look at the joy on his face.  He was super excited!


The last two investigations were directed by me - I put the boys tray between two chairs so they could have access to the bottom of the tray.  They put the magnet under the tray and moved it around.  To their absolute delight the pipe cleaners moved around the tray as he moved the magnets around and they looked like they were dancing because they were standing up!  The kids loved this and stayed on this activity for a while. 

The next activity was a challenge for E.  I told him to make the two cars move but he could only touch one car. I used blue tack to put the magnets on the back of the cars


He discovered pretty quickly that the cars (magnets) stuck together, but then he said "but they aren't racing, how do I make them race?"  I asked him to think about it for a second.  He didn't have any solutions so I suggested he turned one of the magnets around and see what happens. 

 
He did that, then...


They wouldn't stick together... So he persevered... Look at the concentration on his face...


and discovered that he could make both cars move with just his hand on one car... Magic!


He was so excited! And little N was pretty excited too when he noticed what E was doing.  In their eyes it really was magic.  How could the other car move without touching it??

In our eyes, it's science. Magnets are usually made from metal iron (or another material that has lots of iron in it).  All magnets have the ability to pull things towards themselves.  The invisible force is called magnetism.  They are concentrated around the two poles (ends) of the magnet - these are called the north and the south pole.  They look the same but behave differently.  If you put identical poles together, the magnets will repel (push away) from each other.  Different poles together will pull towards each other. 

The kids had so much fun with this and was once again another good rainy day activity!

Looking for more rainy day activities?
Try these:
Gooey Goop!
Explaining Rain!
Moving Milk Rainbow!
DIY Crystals!
Dancing Sultanas!