What better way to celebrate the sun coming back than to spend some quality time in the garden - digging, picking fruit off the trees and enjoying each other's company. So it was off to E and N's great-grandparent's house for some lunch and gardening... And the beginning of our very own worm farm!
All you need to make a worm farm is:
A clear bottle or container
Some hay, leaves, or mulch
Soil
Worms
Fruit/vegetable scraps
Black paper
First, the kids began digging the soil. The kids always enjoy doing this and can keep them entertained for ages - they even have a special spot in the garden where they can dig so that they don't dig up any new seeds or destroy any of the growing crop already in the garden.
While they were doing that I cut the top off our bottle so that we could easily put in all the things we needed to make the worm farm.
Pretty soon the kids got to some moist soil and this is where the fun started... Worms galore!
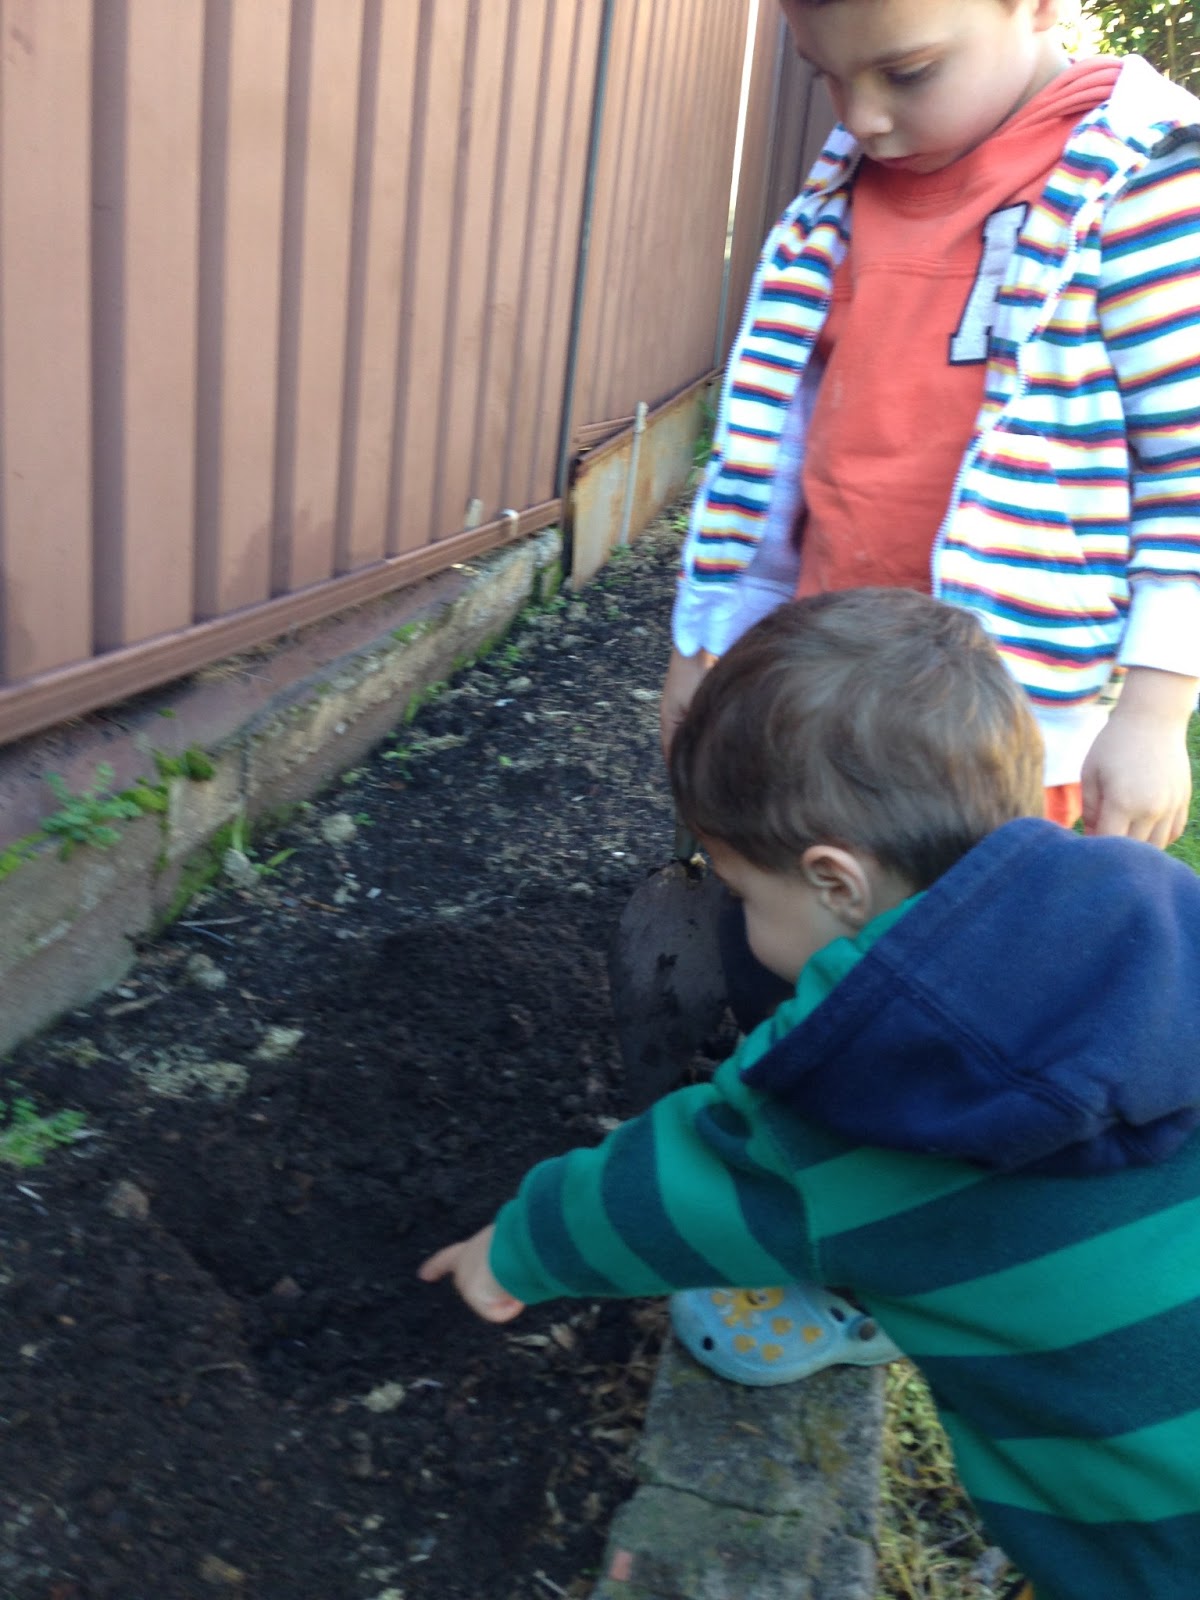
We found lots of worms - the kids were really excited and were describing them
"Look mummy! That worm is so small, it's so cute!" (Never thought I'd hear that! Haha)
"That worm is dancing!"
"This worm is so fat!"
"Yuuuck!"
"That worm is digging back down in the dirt. Come back, worm!!"

We put some soil into the bottle and added a couple of worms.
Then a layer of hay that mum had in her garden.

Then continued that pattern until we reached about 3/4 of the way up the bottle. The soil was really moist because of all the rain we have had, but if yours is dry you may want to use a spray bottle to wet the soil.
We taped the top of the bottle back on and the kids put their fruit scraps in as compost.


Worms are nocturnal, so it's really important to keep their environment dark, otherwise this observation wont work well. We taped black paper around the bottle and kept the black paper on for 2 days.

When we took off the black paper and saw what the worms had created...
It was a little hard to point out initially, but finally the kids saw and understood the little tunnels the worms made.
It's a little hard to see in this picture, but you can see a worm made tunnel just under the first groove in the bottle, slanting from the left to the right. There were lots of other tunnels just like this one around the bottle.

Once I pointed it out to them the kids turned the bottle around over and over again, pointing out all of the worm tunnels. They even noticed that the pear scraps that they had put in had turned brown.
We kept the worms for a couple of days and then released them back into the garden - bye bye worms!

The best part about this experiment?
We had just made the worm farm and what did the boys do? Straight to the cumquat tree, picking fruit off the tree and eating them fresh off the tree with their great - grandfather. Love! :) ...

No comments:
Post a Comment